1. Create the benchmarks workflow
Create a new workflow to run the benchmarks for your repository. You can do this by creating thecodspeed.yml file in the .github/workflows
directory with the following content:
The most important step of this workflow is the usage of
CodSpeedHQ/action. This action will
configure the CodSpeed environment and upload the benchmarks results.
Keep both triggers in the workflow’s
on section:pushon your default branch (e.g.,main). These runs record the baseline that every comparison is measured against.pull_request. This is what reports the performance impact of a pull request, measured against that baseline.
pull_request (or a manual workflow_dispatch), there
are no runs on the default branch, so pull requests have no baseline to compare
against and the default branch shows no results in CodSpeed.Learn more about
baseline report selection.Sample configurations
- Python (with
pytest-codspeed) - Rust (with
cargo-codspeed) - Node.js (with
codspeed-nodeand TypeScript)
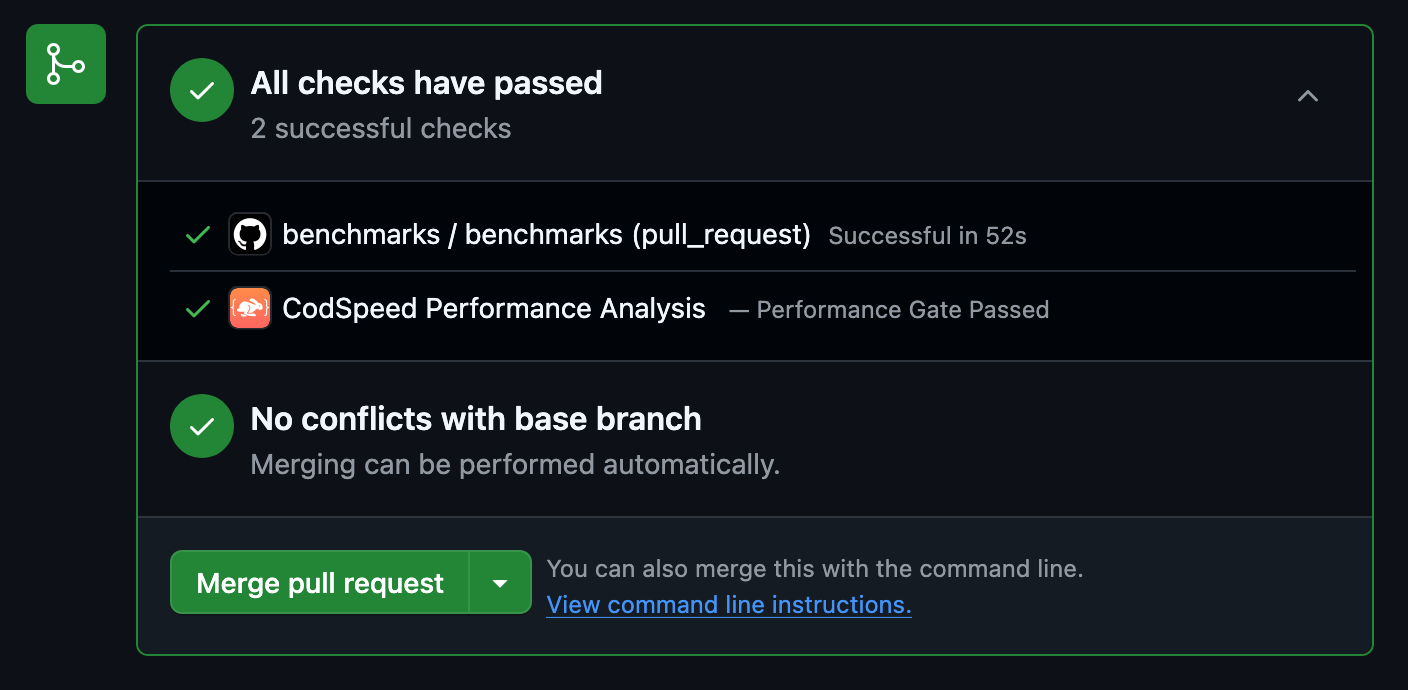
2. Check the results
Once the workflow is created, your pull requests will receive a performance report comment and will also receive some additional checks: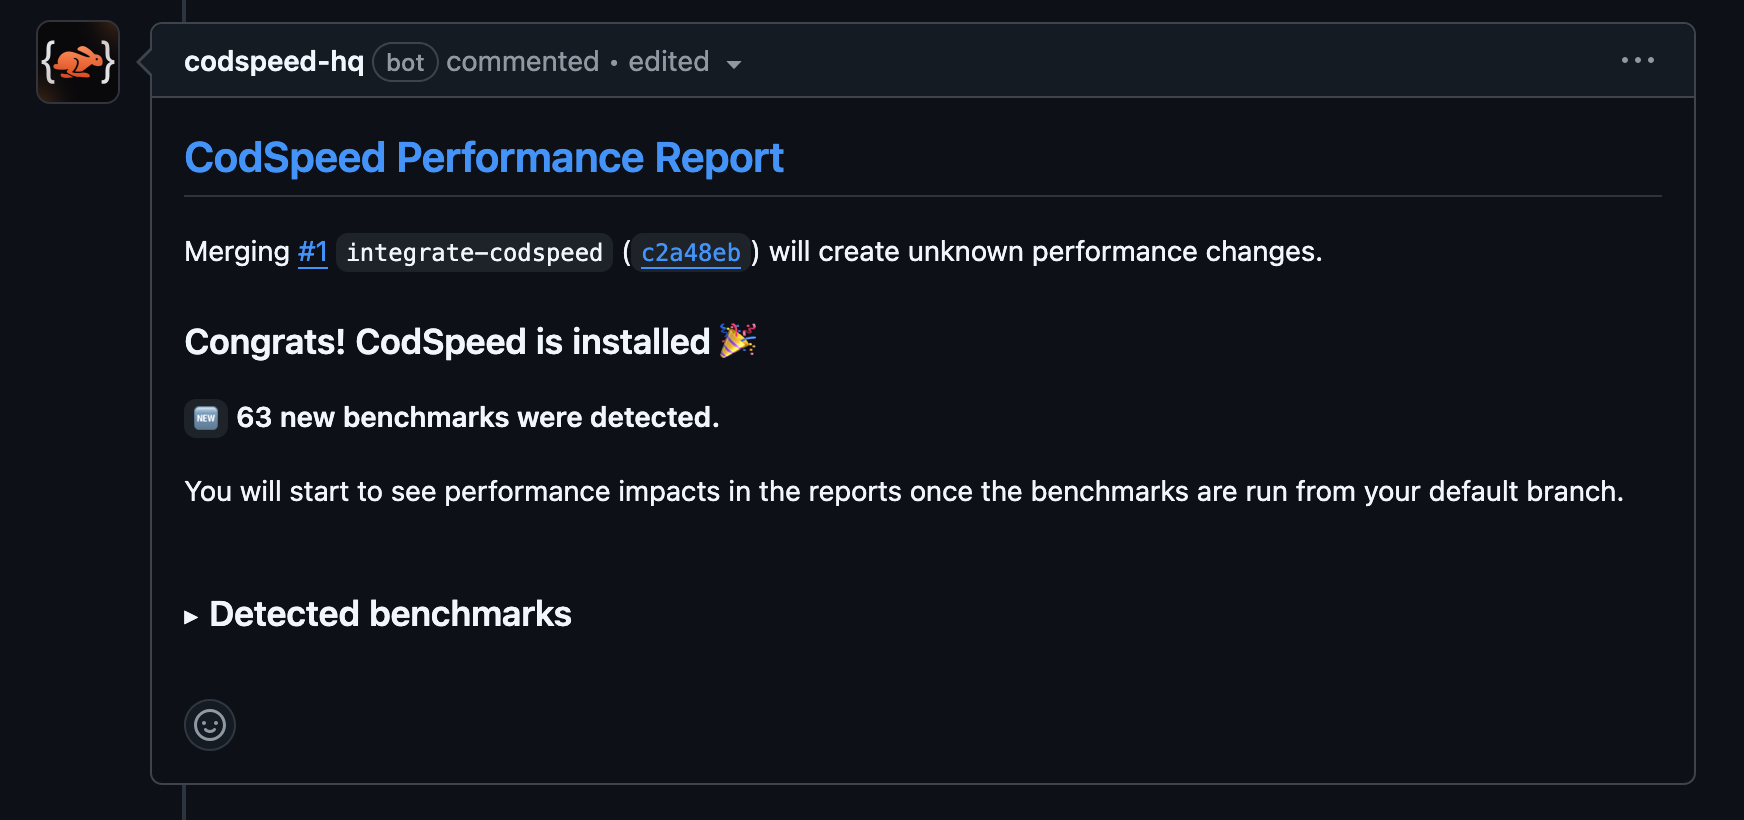
3. Next Steps
Now that everything is up and running (and hopefully green 🎉), you can start enhancing your workflow to get the most out of CodSpeed.Configure GitHub Actions for CodSpeed
Learn how to configure authentication methods and advanced options for GitHub
Actions
Explore the Performance Metrics
Understand the performance metrics generated by CodSpeed
Enforce Performance Checks
Make sure you or team members never merge unexpected performance regressions
Explore Profiling
Get detailed flame graphs and performance traces for your benchmarks
Shard the execution of your benchmarks
Run your benchmarks in parallel to speed up your CI